Showing posts with label DIY. Show all posts

Monday, February 3, 2014

How I D-Y-I-ed Christmas

I totally understand that Christmas happened well over a month ago and that it seems a little silly to post this, but I wanted to share some of the DIY gifts I made this year. .

Personally, I love homemade gifts more so than the store bought one. I would rather receive a gift that was made from the heart rather that a fancy-schmancy $100 gift.  They also tend to be a lot of fun to make!

Last summer I started canning. My purpose was to give out the can as Christmas gifts. Guess who totally forgot to bring them up to VT with her? This girl. To quote Homer Simpson: "D'Oh!"


For the ladies on my list, I made soaps and lotion bars. So easy and quick to make! 


For my brother, I downloaded Instagram photos of his motorcycle and of the truck he restored last year  and had them printed on photo paper. I used decoupage to put them onto tiles, sprayed them with an acrylic sealer, and vwa-lah - had creative coasters! PS. My bro takes that absolute best photos on Instagram. He really knows how to set up a shot. 


My final homemade gift was a simple, clay ornament with the initial of the recipient. Of course, I totally did not take a photo (that would have been the smart thing to do), but if you're interested in them, check out the website I used for inspiration. I bought white, air-dry clay at Michael's, some red ribbon to hang them, and used letterpressed cookie cutters to cut and press the cookies. After a little sanding, they were ready to go. 

Tuesday, June 26, 2012

DIY: Daily Calendar Journal

Oh Pinterest. I really want to not like you. Many days I feel that you're so over-rated.

Yet, I.Keep. Coming. Back.

Last December I cut up 365 index cards to make a daily calendar journal based on this idea that I saw posted on Pinterest. 


I've always kept some sort of a journal but never go back to read previous entries (perhaps my children  will enjoy reading them someday). This idea is different than a journal because you revisit each card every year, adding what you did on that particular day. You then put that card in the back and the next day's card is waiting for you!


I think it will be fun to see what things happen on my birthday each year!

Does anyone else keep a journal or record daily events? 


Tuesday, February 28, 2012

Recycled T-Shirt Seat Cushion Tutorial

A few weeks ago I made this braided cushion out of old t-shirts. They were in good condition, but I couldn't see anyone at Good Will wanting an old running shirt or a Hannaford t-shirt. It seems like every time I run a race I get a new shirt and no one needs 40 t-shirts. This was a great project that freed up some space in my dresser.

Since that post, a few people have asked for a tutorial. Today I made another braided rug/cushion so I could show you how to do it!


1. Grab three old t-shirts. If you want to make a rug (larger than the seat cushion above) you'll need at least 6 shirts. You'll also need a ruler and a good pair of scissors.


2. Cut the top of the shirt off. Start at one armpit and cut across to the other armpit.


3. Make a 2-cm slit on one side of your t-shirt, two inches from the left side. Continue to make 2-cm slits every two inches apart. Use a ruler as your guide. If you want to make a coaster or something smaller, then I would recommend one-inch spaces, which creates a thinner yarn.


4. When you get to the bottom of the t-shirt, cut off the seam/folded over part.


You should have one large, folded piece of t-shirt. It almost resembles a pillow case, which could also be used in this project! 


An example of the slits


5. Using your 2-cm slits as guides, cut panels in the t-shirt, but DO NOT cut all the way to the other side. Leave about a 1.5 inch of uncut t-shirt at the top, as shown below.


Your t-shirt should now look like this, still connected on one side.


6. Open your t-shirt and start on the right hand side. Cut a diagonal slit that goes from the bottom, right hand-side of one panel, across to the top of the other panel. This will create one continuous piece of fabric. I can't quite figure out how to explain this step, so leave a comment if you need clarification. It's also helpful to practice on a piece of paper or a paper bag before doing this step. The key thing to keep in mind is that you want ONE piece of fabric, not many. If you end up messing up and cut the fabric too soon, you can fix the mistake by sewing the pieces together.


7. Your t-shirt should now resemble this continuous strand of fabric.


7. Find one end of your t-shirt and hold with both hands. Pull taunt. This will "curl" the fabric to create your yarn. 


An example of curled fabric on the left, versus the fresh cut fabric on the right.


9. Keep pulling the fabric until it is all curled.


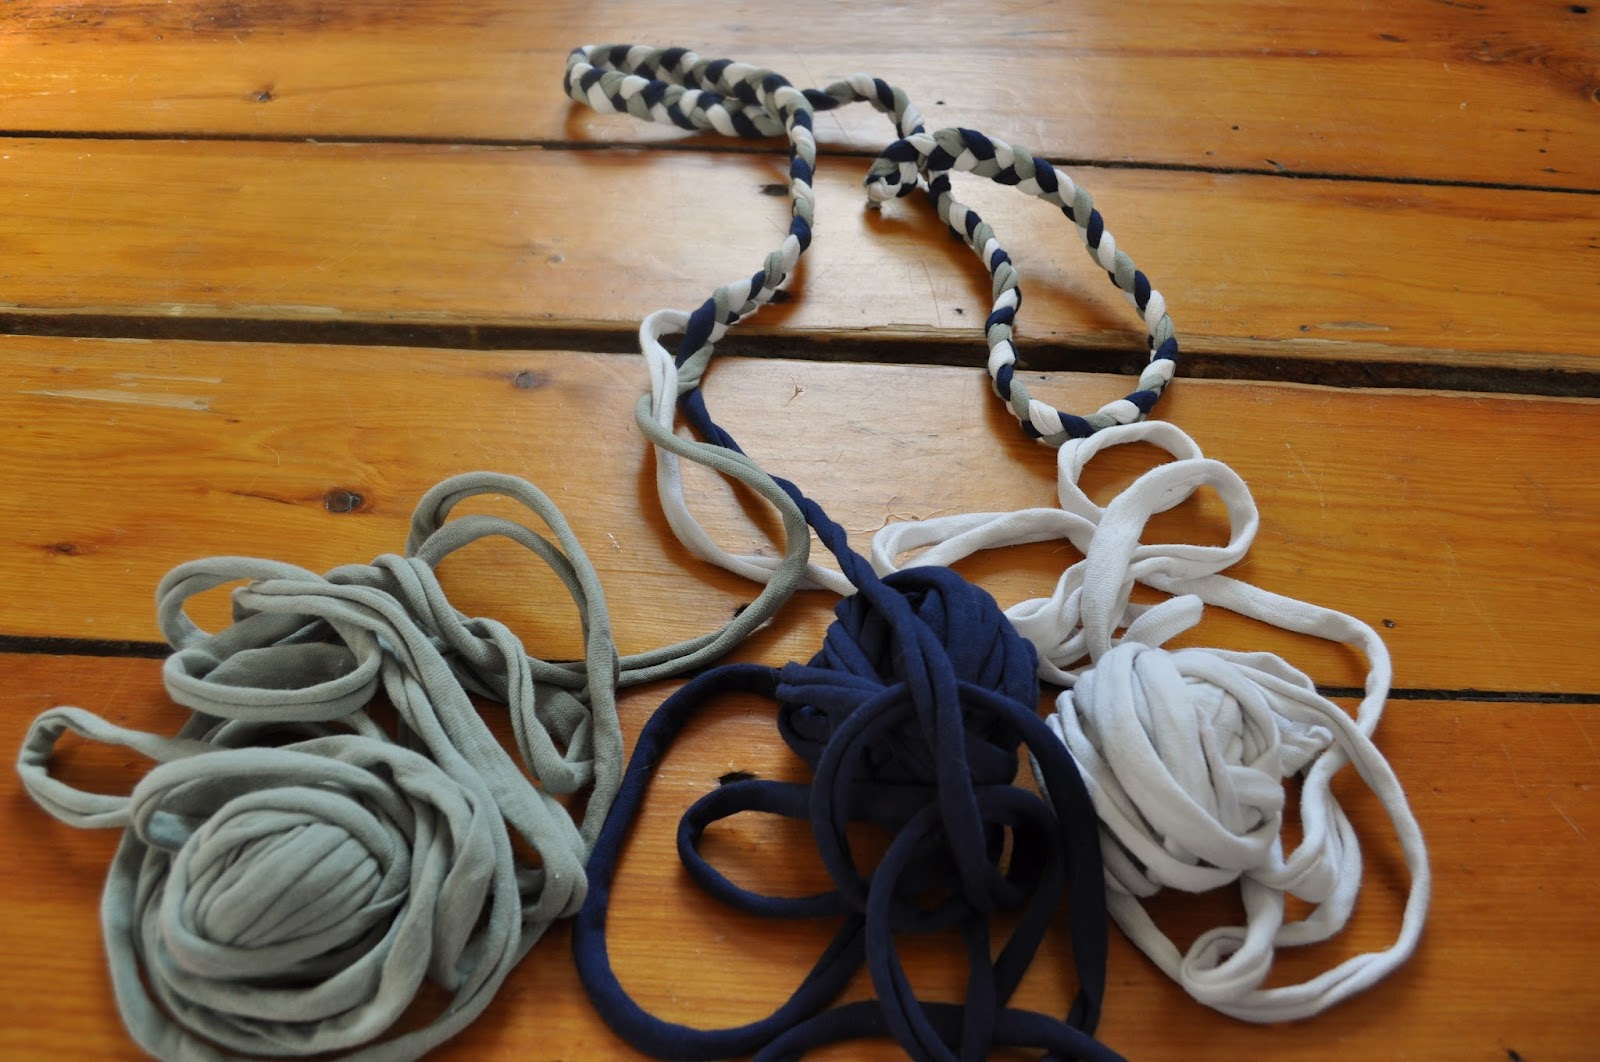
10. Roll into a ball


The more colors/t-shirts you have, the more options you have for your seat-cushion or rug!


11. Some may choose to sew the pieces together, however, I just knotted the ends of three pieces of t-shirt yarn to get started. I take the knot apart when I sew the cushion together. This of course, is after the rug is completely braided.


12. Start braiding until you reach the end of your balls of t-shirt yarn! Be careful! These balls of yarn tangle very easily. I found that the best way to keep them from getting tangled is to move each ball side to side, every time I add a new layer to the braid. 

Wilson absolutely loves the balls of yarn


13. Once you reach the end, tie your yarn into a knot. Don't worry about tying it tight. Once you start sewing you will need to be able to take the knot apart.


14. Warning: You'll need thread and a needle for the next part! Start in the middle of your rug/cushion and use a straight stitch to sew the sides of the braids together. You can create a circular shape, oval, or even a square. I did this by hand, but some people may be able to figure it out on a sewing machine (which I don't have!). When you get to the very end of your rope, untie the knot and sew the yarn into the bottom of the rug/cushion.

Please let me know if you have any questions or if you make a rug/cushion of your own! I'd love to see what others create with t-shirt yarn!

Sunday, February 5, 2012

Creative Dani: Recycled T-Shirt Seat Cushion

Yesterday I became victim to the cold that everyone in VT seems to have. What a bummer. Thank goodness for Cold-Eeze and orange juice.

A month and a half ago, when I was healthy, I got into a creative funk. I had bunches of old t-shirts that I no longer wore. They weren't good enough to donate but weren't bad enough to throw out. What could I do?

That's when I did a little research online and found t-shirt yarn. It's yarn made out of a t-shirt, cut into one really long piece of fabric and rolled up.


Growing up we had tons of braided fabric rugs around my house. My Grandmother Cloutier had made them long before I was even born. Although she made the rugs out of fabric scraps, I thought that the t-shirt yarn would work just as well. It was quite easy (and fun) to braid the yarn together, but took a bit longer to sew since I did it by hand.


My yarn wasn't long enough to make a rug, but it was the perfect size to make a seat cushion. I called it my "Junior Mint Cushion" because it was made of brown, mint green, and white shirts.

I have a ton of t-shirt yarn balls left so perhaps a rug will be my next endeavor. But for now, my focus is lesson planning (my month of solo teaching starts tomorrow).

Oh. And the Superbowl.

Go Pats!

P.S. I considered posting a tutorial for the cushion but didn't know if anyone would be interested. If you want to see one, please leave a comment