Showing posts with label Cheese. Show all posts

Thursday, July 19, 2012

Chicken with Pepperoni Sauce: Weirdest Looking Dinner Ever

Tuesday night I had the opportunity to make dinner using a recipe that Tom had found this weekend: Skillet Chicken with Pepperoni Sauce. When I asked him what it was, he said it was like pizza!

Ok, but doesn't pizza have dough? 


Yeah, that's why the recipe doesn't have pizza in the name. Because it isn't pizza.

I went along because I like pepperoni, we had chicken in the fridge, and I cannot resist melted Mozzarella. The verdict: It was actually quite tasty and I would certainly make this again.

We were able to use more of the Vermont Smoke and Cure Pepperoni from the pizza making in this recipe. Now we only have one package left. This could potentially be a problem, but fortunately we'll be making a VT visit soon and can pick up more.


Throw that pepperoni in a pan with some olive oil and garlic, and let it cook up for a 2 minutes (stirring frequently).


After two minutes, it's time for some pasta sauce. Turn the temp to medium low and let that simmer for 5 minutes. This is when the chicken strips were started, seasoned with pepper, and cooked for 3 minutes on each side. 
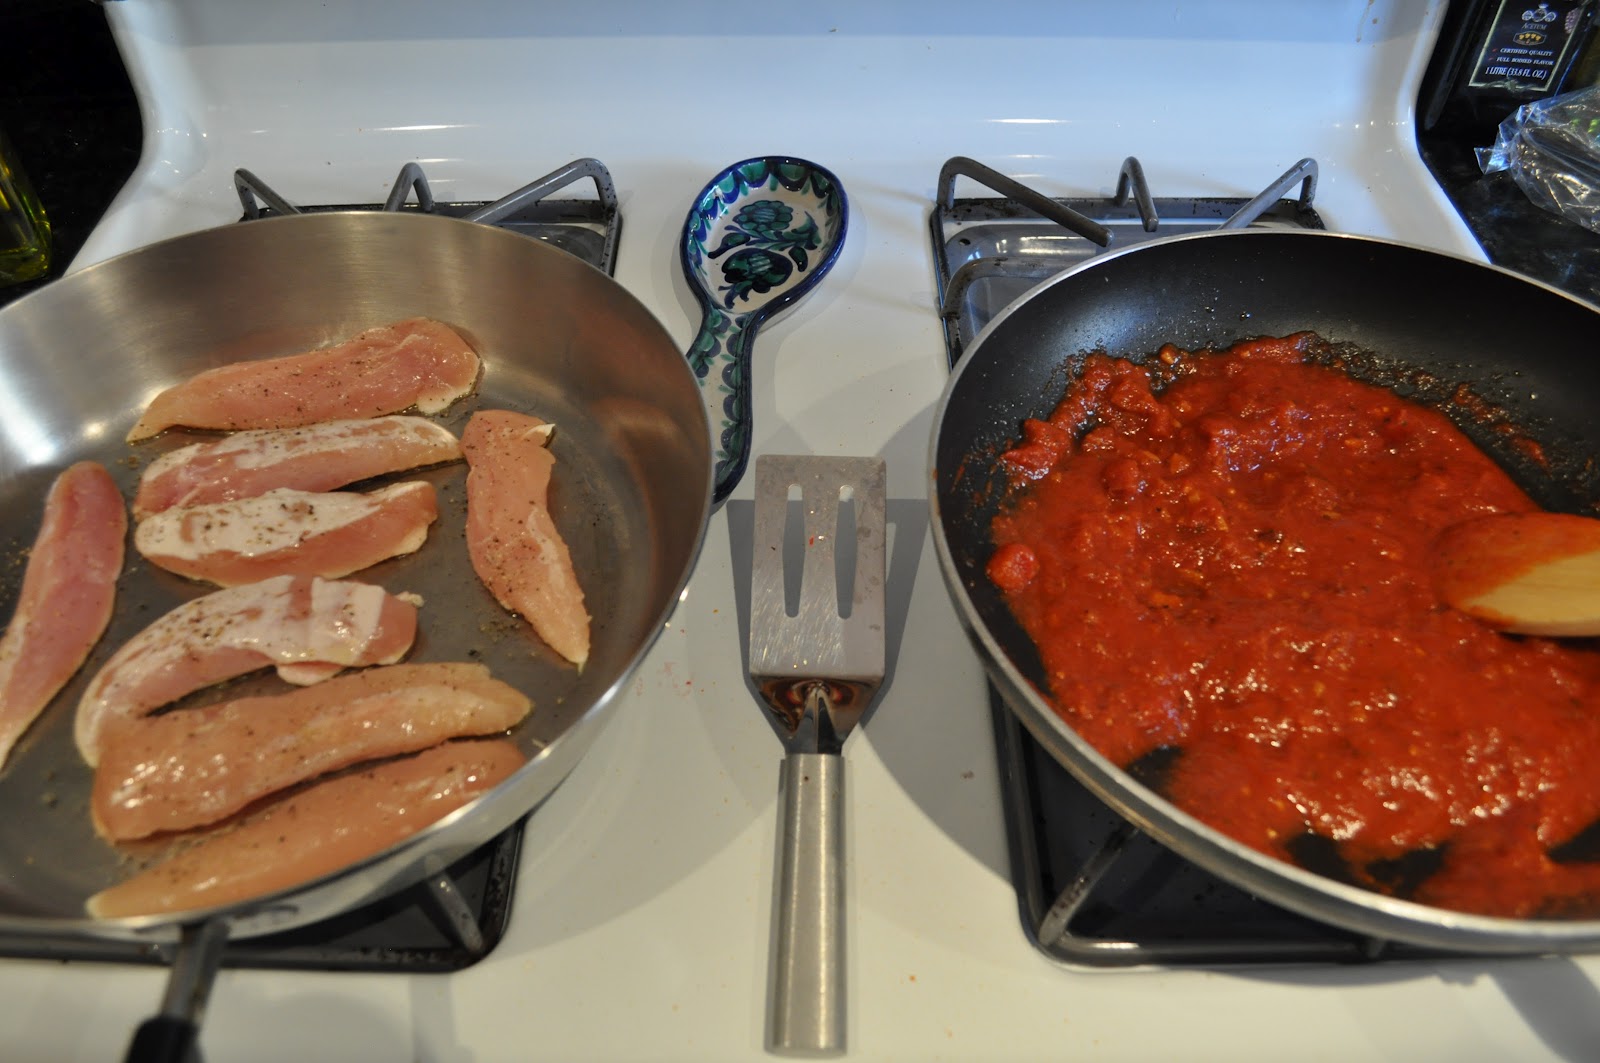

Once the pasta sauce mix has simmered for 5 minutes, remove from heat and add in a bunch of fresh, chopped basil. Let that sit until the chicken is ready.


The recipe called for the chicken to be cooked in a skillet, therefore, allowing you to add the sauce mixture to the skillet, to top that with Mozzarella, and then to easily put the whole thing into the oven to broil for two minutes. We decided to transfer our chicken and toppings to a glass pan and it worked just as well.

The finish product is below. It is certainly not the fanciest looking meal but it turns out to be a quick, tasty, easy weeknight dish with a bunch of flavor. It is also good for those who can't eat the gluten-filled dough of a pizza - it's a dough-less pizza!


Friday, July 13, 2012

Lovin' Pizza!

Tom and I love to make homemade pizza as a quick weeknight dinner. It's fairly quick, extremely tasty, and provides us with awesome lunches for the next day.

On Sunday I made two batches of pizza dough that will create four delicious pizzas for us, using the recipe from Baking Illustrated. I wish I used this book more than I do because it is phenomenal.


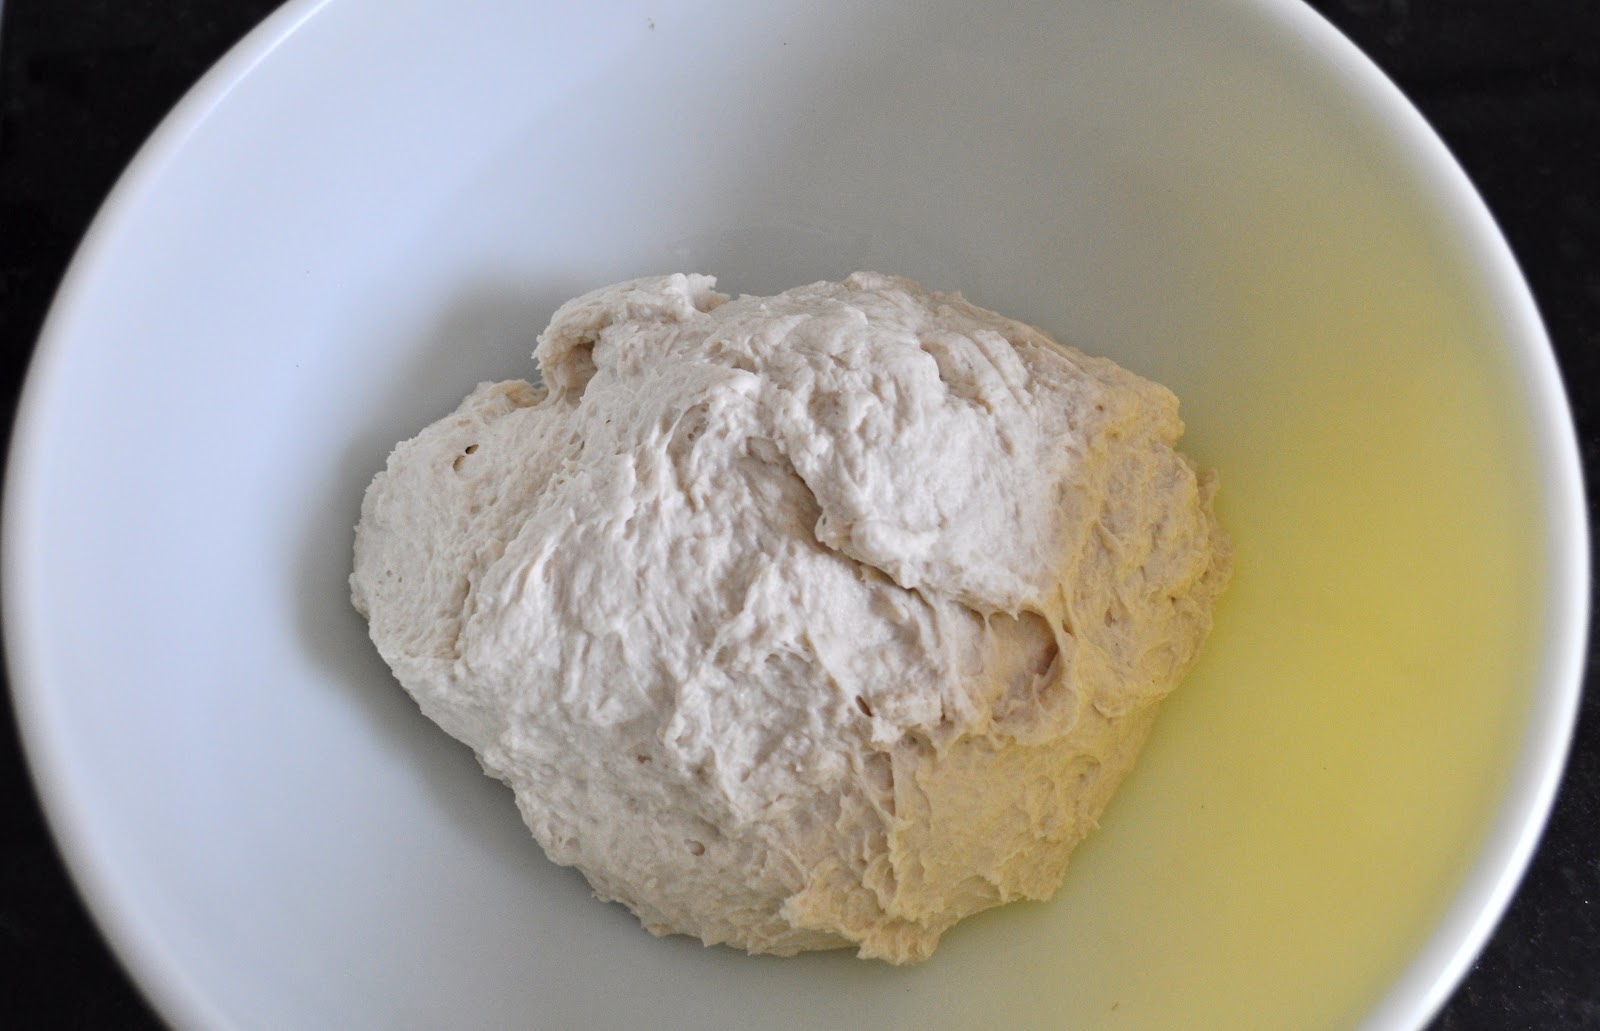
I love how a bowl full of dough can go from this.....


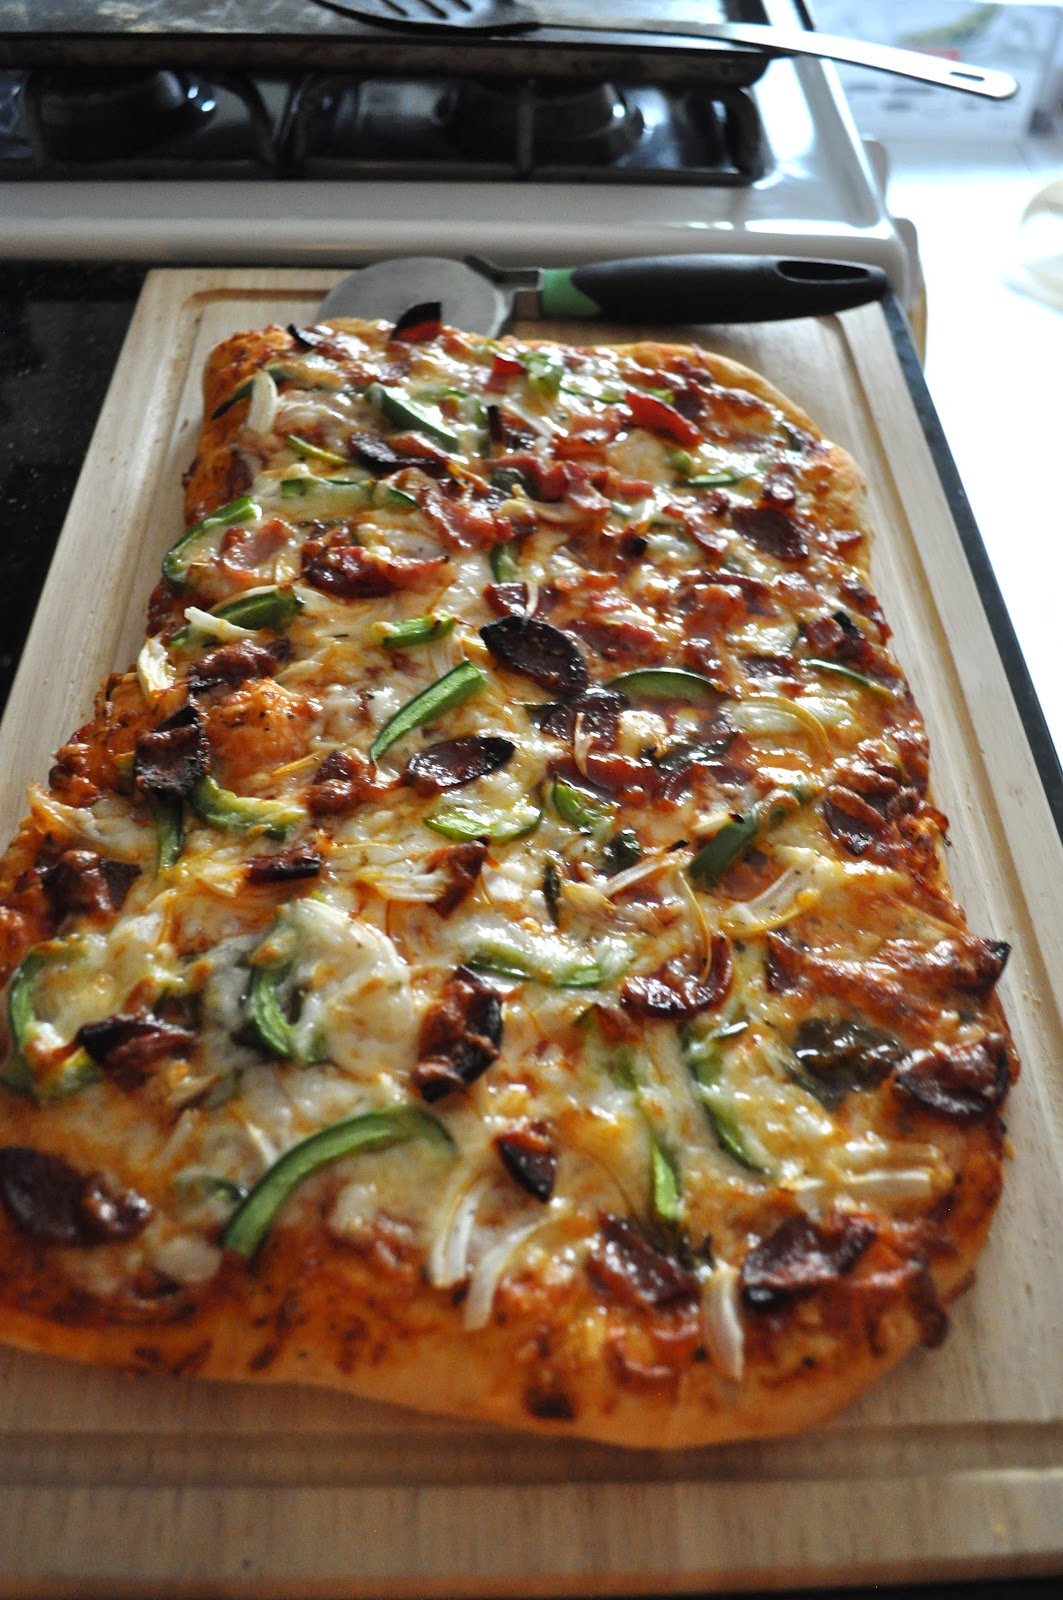
To this...... In only 1.5 hours!


I let the dough sit for about 10 minutes before either using it.....


....or packing it up into single-pizza sizes to freeze. They're wrapped with plastic wrap and then popped into a freezer bag. It's so helpful for those weeknight - quick dinners. As long as we remember to take it out of the freezer before we go to work. 


Tom thought I was crazy to purchase a package of Vermont Smoked Pepperoni before we left, but I am soooo thankful I did. I love their pepperoni on our pizza. We usually make pizza's with what we have around the kitchen. The normal: onions, garlic, green pepper, basil, pepperoni, and of course - cheese! Mozzarella, Cabot Extra Sharp, Parmesan, and Provolone!


Even after making pizza for the last few years, we have yet to purchase a pizza stone. Guess what will be added to our "New-Apartment Shopping List"? 


It's been quite interesting the last two weeks to be at home so much. I am applying for teaching jobs in the area during the day, and by 5pm I'm whipping up something to eat for dinner. I'm not quite used to having this amount of time off, but it is nice to have a few hours to plan a meal, go shopping for it, and to actually cook it. I know for now I need to enjoy this freedom. So for the moment, I imagine we'll be putting the pizzas aside as I try out some new recipes!

Thursday, May 10, 2012

Grilled Prosciutto and Mozzarella Sandwhich

Last Sunday (4/29) I successfully made a tortilla EspaƱola for dinner. Normally I destroy the tortilla when I flip it, it comes out burnt, or the flavor is just bland. This time I made sure to really salt it, cooked it on low, and didn't bother to flip it. Instead, I put a lid on the pan and cooked it for 20 minutes. Perfecto.

By Monday I was craving more Spanish-style comida (food). More specifically, I was craving a bocadillo de jamon y queso (Serrano ham and cheese sandwich), but was lacking the authentic Serrano ham and Manchego cheese.


I discovered the next best thing: A grilled Mozzarella sandwhich with Red Hen bread, basil, tomato, and prosciutto! It was amazing, and so much better than the American grilled cheeses.

Fun fact: Growing up we knew grilled cheese sandwiches as "Toasted cheese sandwiches". My mom broiled them in the oven, toasting them, rather than grilling or frying.


Anyway, to make this sandwich it is quite simple:

  1. Pre-heat oven to 400 degrees.
  2. Butter two sides of really good bread (I used Red-Hen)
  3. Lay 1-2 pieces of prosciutto on each un-buttered side of the bread.
  4. Lay slices of fresh Mozzarella on top of the prosciutto
  5. Cover the cheese with fresh basil leaves.
  6. Put the two halves of the sandwich together, making sure the butter is facing outward.


  1. Heat olive oil in a small frying pan on medium-low heat. Place sandwich in pan and cook for 3 minutes, until crispy and slightly toasted. Flip and repeat for other side.
  2. Place sandwich onto pan and bake in the oven for 3-5 minutes, until cheese is melted. 
  3. Remove from oven (careful - it's hot!). Open sandwich and place slices of tomatoes between layers of basil leaves.

Apparently my Spanish-styled food cravings did not end last week. This Tuesday I was whipping up some Valencia-styled paella. I wonder what the next dish will be!

Friday, January 20, 2012

Cheesy Eggplant Parm

A few weeks ago I posed a question on Facebook: "I have an eggplant and don't know what to make with it. Any suggestions?"

People responded immediately with ideas like stuffed eggplant, moussaka, roasted eggplant on pasta, eggplant rollatini, and of course - eggplant Parmesan. 

Last time we made eggplant parm we didn't want to finish it. This time, we had a real winner. It was plate of ooey-gooey-cheesy deliciousness!


Cheesy Eggplant Parmesan
Adapted from Allrecipes.com

Ingredients
1 large eggplant (or 2 smaller), thinly sliced
1 egg, beaten
1-2 cups bread crumbs
1 jar of spaghetti sauce (Bove's Garlic Lovers or San Marzano Tomato Basil were delicious choices)
3 garlic cloves
8 oz package of shredded mozzarella cheese (more for the cheese lovers)
1/2 cup grated Parmesan cheese
Dried basil


  1. Preheat the oven to 350 degrees F. Cover baking sheet with aluminum foil.
  2. Set up workstation: sliced eggplant, egg bowl, bread crumb bowl, baking sheet. Dip eggplants in egg and  breadcrumbs before laying on baking sheet.
  3. Bake eggplant in oven for 5 minutes. Remove from oven, flip, and bake another 5 minutes. 
  4. Cover the bottom of an 8x8 or 9x9 baking dish with spaghetti sauce. Add a layer of eggplants, followed by half of cheese and all of garlic. Repeat by adding another layer of sauce, eggplant, and remaining cheese. Sprinkle dried basil on top. 
  5. Bake in the oven for 35 minutes. 
Serve with pasta and enjoy!

Saturday, November 19, 2011

Herb and Cheese Palmiers

Last Christmas I tried a palmier appetizer recipe from Martha Stewart that turned out to be a great success. The first time I had a palmier was in Spain, and unlike most of the palmiers that I've had, these were savory instead of sweet.

I made them again a few weeks ago for a pot-luck party and had a lot of trouble keeping Tom away from them before we got to the party. These will be a great addition to any holiday party you may be going to over the next month. I wish I had remembered to take a photo of the finished product so you'll have to make due with the original one from the Martha Stewart website. 


Ingredients
1 package of thawed puff pastry sheets (found in the frozen section)
1 tablespoon olive oil
1/4 cup grated sharp cheddar cheese
1/4 cup grated Parmesan cheese
3 tablespoons chopped fresh herbs (like thyme, rosemary, sage, oregano) Dried herbs work as well.
1/4 teaspoon salt
1 egg yolk
1/2 teaspoon water

1. Heat the oven to 375 degrees. Flour working surfaces and roll out pastry puffs into 10" x 16" squares.


 2. Brush olive oil onto the puff squares. Sprinkle with cheeses and mixed herbs (I didn't measure anything in this part so feel free to add as much or as little as you desire).


3. Fold the dough into thirds lengthwise (like you would fold a brochure). Cut the dough in half and place one half on top of the other. 


4. Crosswise, cut the dough into 1/4 to 1/2 inch slices. 


5. Separate the slices of dough and roll palmiers into shape (either pinwheel or u-shape).


6. Combine the egg yolk and water in a small bowl. Brush the palmiers with egg mixture.
7. Place palmiers onto parchment paper to prevent the bottoms from burning, and bake until golden brown - about 25 minutes.

Palmiers are super tasty when served warm.


Wednesday, August 24, 2011

CSA: Week 10 Preview: Chard and Bacon Pasta

Two posts in one day?! Only because I had such a delicious dinner that I wanted to make sure I could share it with all of you.


I picked up our10th CSA this morning. I normally put the greens away and wait a few days before using them in a dish.

Since I'm tired of "forgetting" to use them I set out to search for a chard recipe for dinner tonight.

And I discovered a winner! The following recipe is so good that it really could be on Sarducci's menu. You don't know what Sarducci's is? Please make plans to eat there next time you're in Montpelier....


Chard and Bacon Pasta
Adapted from Epicurious

1/2 box of Penne
6 oz Vermont Smoke and Cure bacon, cut into 1/2" slices
1 medium onion, sliced
2 cloves of garlic, chopped
6 cups of chard, stemmed, and chopped
1/2 tablespoon balsamic vinegar
1 1/2 tablespoons olive oil
Parmesan cheese (grated) or Parmesan, Asiago, and Romano cheese mix
Salt and Pepper

1. Prepare the pasta according to packaging directions. Collect 1/2 cup of the pasta water before draining the pasta and set aside. Return the pasta to the pan and cover to keep warm.

2. Cook the bacon in a large pot until it starts to crisp. Remove the bacon and place onto paper towels to collect the grease. Drain all but 1 tablespoon of the bacon grease from the pan.

3. In the bacon-pan, saute the onions over medium heat until softened. Add the garlic and cook for one minute before adding the chard, salt, and pepper to taste. Cook for one minute and add the pasta-water. Continue to cook for a few minutes until the chard is wilted. Add the balsamic vinegar, pasta, and olive oil, and mix thoroughly  Remove from heat. Sprinkle with bacon and grated cheese.

Enjoy!

Monday, September 20, 2010

Three Cheese Mac & Cheese

Cheese. MMmmm! I can never have enough. Especially when it comes to Mac & Cheese. 

I had yesterday off and took full advantage of it. I had a relaxing morning before running 12.5 miles in preparation for the Leaf Peeper's Half Marathon in 2 weeks. The weather was beautiful - in the 60s. I definitely didn't want the day to end because I knew it meant that we're one day closer to the cold weather of winter. 


I found a recipe for this mac & cheese a few months ago. I changed some of the ingredients, either because the cheese wasn't sold in 5 oz packages, or because I couldn't allow myself to use all of the half & half that the recipe called for (actually it called for heavy cream!). Thank goodness herbs are durable plants. We still had thyme growing in our herb box that I picked just for this recipe.


Three Cheese Mac & Cheese

3/4 box of Penne
1 cup half and half
1/2 cup milk
3 tablespoons onions, finely chopped
2 minced garlic cloves
2 tablespoons flour
1 1/2 cups shredded extra sharp cheese
4 oz goat cheese
1/2 cup grated Parmesan cheese
2 tablespoons sour cream
3/4 teaspoons lemon juice
1 1/2 teaspoons fresh thyme, chopped
salt and pepper (to taste)
1 egg yolk

Preheat oven to 400 degree Fahrenheit. 

Boil water and cook penne 11-13 minutes. Drain pasta and return to the pot. 

While pasta is cooking, add the half and half, onion, and garlic to a larger saucepan, and bring to a simmer. 

Pour half of the cream mixture into a bowl. Gradually whisk the flour into the mixture. Once flour has been fully blended, pour back into the saucepan and whisk the entire mixture for 3 minutes. Cream should thicken.

Remove the pan from the heat. Add the half of the Parmesan and all of the goat and cheddar cheeses to the crease. Whisk until cheese are fully melted. Add the sour cream, lemon juice, 1 tsp of thyme, and salt and and pepper to taste. 

Place the egg yolk into a separate bowl. Slowly  add 1/2 of the cheese cream into egg, whisking as you go. This will prevent the egg from cooking immediately, and will keep it creamy. Add the egg mixture back into the sauce pan, and fully mix. 

Cover the penne with the cheese sauce and mix throughout. Pour pasta and cheese into a baking dish. Sprinkle the rest of the Parmesan over the pasta and bake for 25 minutes. Pasta should be golden brown. Place the remaining thyme on top around the top of the dish, and let sit for 5 minutes before serving. 


What my taste buds told me: I loved the addition of the thyme. It added a little pizazz to the dish. I would have preferred to have had a creamier dish, so perhaps more cheese sauce and less baking time.